
29 August 2022/
With its Artemis mission NASA, the US space agency NASA plans to return people to the moon for the first...
With its Artemis mission NASA, the US space agency NASA plans to return people to the moon for the first...

We always need something special that solve all our problems and create all things in simple way according to our...

The date of Apple’s “Far Out” event is set for September 7. This will see the introduction of the iPhone-14...

Sometimes we accidentally send our clients the erroneous invoice because we either don’t have the item in stock or it...

Do you also save or remember your passwords using a password management app? If so, go easy on yourself. A...
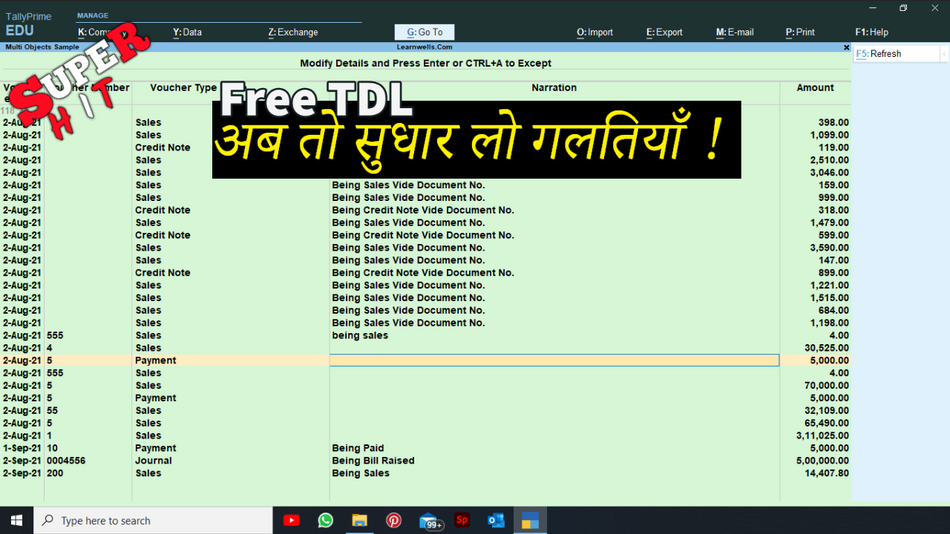
Humans make mistakes by nature. We all have the potential to make mistakes in life, work, and in Tally entry....

AI is making fools of itself someplace, acting intelligent as in movies; billionaires-scientists have thought about the risk: On a...

Sometime when we create ledgers in Tally or already created lots of accounts / ledger in Tally then there is...

More than half of cyber threats are made in this fashion, utilising specially prepared portable media, according to a recent...